Platform for obutto r3volution
- This topic has 0 replies, 1 voice, and was last updated 11 years, 8 months ago by
chris.
-
AuthorPosts
-
21 April 2013 at 6:08 am #4438
chris
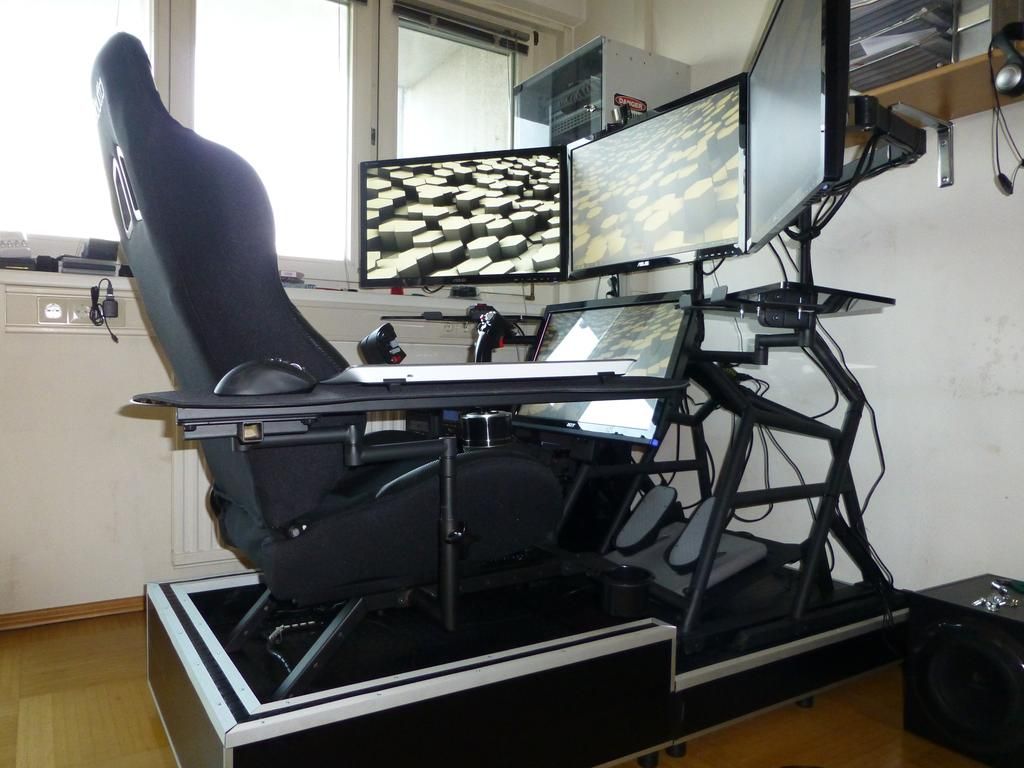
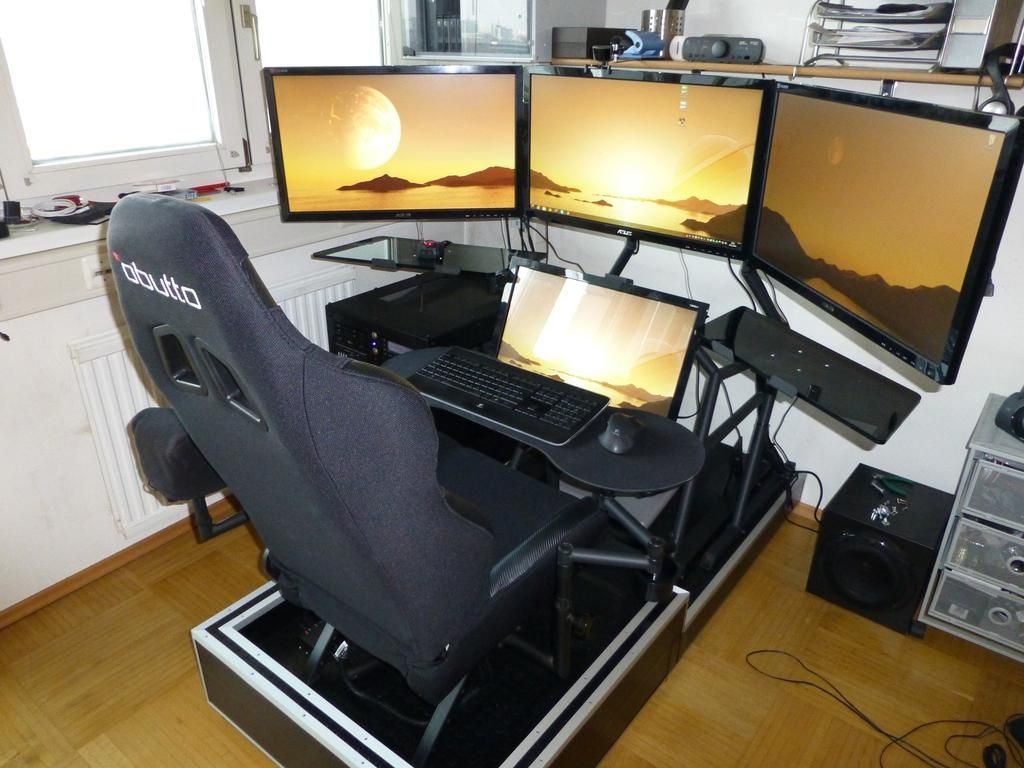
KeymasterWell to kick off this mods section, mhe from the SimHQ forums sent over his plans for the platform/pedestal he made for his r3v cockpit. It’s really is a fine piece of work, as are rest of the mods on his oZone before, and now his r3volution. See below pics and mhe’s comments on building the platform……thanks mhe!!
– – – – – – – – – – – – – – – – – –
“Ok, just got finished with a basic sketchup of my pedestal. It only contains the main parts and measurements, but not the fixing parts like screws or brackets. That’s what the below image album is for, you see where I used brackets there, the location of the screws don’t matter much as long as there are enough of them to make it really rigid.
Pics:
http://imgur.com/a/JOPQY#0CAD file:
https://www.dropbox.com/s/fyxtngq1ivp11rx/Obutto_r3volution_pedestal.skpHope this helps a bit. The rear part is much trickier as you have to think about how to fix the upper 3 frame parts. Basically build that thing upside down, meaning you first screw the frame parts to the main plate from below (screw through the plate into the thick wooden bars). Once that is screwed together, you do the lower part. Corners use angle brackets on the insides and the floor is protected by putting that whole thing onto rubber door stoppers (which are also not in the drawing).
The 90-degree rotation of the main structure between front and rear is to simplify the parts list, less different parts are needed this way. Just go to home depot and get some standard wooden construction bars, mine are 60x100mm in profile.
Lengths you need:
7x 680mm
4x 800mm
2x 90mmThe 2 main surfaces are cheap particle boards or chipboards (in German it is “Spanplatte”, don’t know the proper english word though). They are 20mm thick, rear one measures 800x800mm and the forward one is 800x900mm.
You can paint it, cover it with any surface material you want. I went with rubber floor mat for the upward-facing surfaces, matte black self-adhesive foil for the sides (don’t want to spraypaint indoor and I don’t have a workshop) and some aluminium rails to cover the edges. You basically need only a screwdriver and a miter saw to build the whole thing, provided you let the home depot guys cut the wooden bars to length at the shop.
The finished product is basically built like a tank, you will have a hard time to move it once it’s laid onto the floor. The rubber feet friction combined with the weight of the thing makes it somewhat of an immovable object.
Chris: feel free to redistribute the CAD file to your customers as you please.
I can also make some more pictures if need be.Greetings from sunny Vienna
-
AuthorPosts
- You must be logged in to reply to this topic.


